Assembly |
  
|
Assembly |
|
In the Assembly Tab you will be adding the SKU components and the quantity to allocate per component of the Assembly SKU being created.
Important Note: Qualifiers cannot be added to master assembly SKU'S, but each component SKU may have qualifiers.
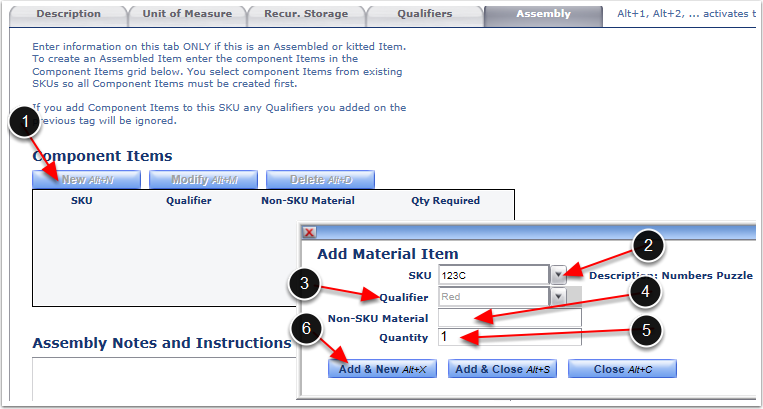
To start adding the component SKU's:
1.Click the New button found under the Component Items heading and an Add Material Item sub-tab will appear.
2.Select from the drop down list or type the first component SKU to the assembly.
3.If you have selected a component SKU with a qualifier, you must select this value from the drop down box to identify the correct Item. If the component SKU you selected does not have a qualifier, this option will be grayed out and cannot be selected.
4.The Non-SKU Material field can be used to enter accompanying items that are not inventoried, but must be packed with the assembly (Optional).
5.Enter the Quantity of the component SKU being added to the Assembly SKU.
6.Click the Add & New button to save the first component SKU to the Assembly SKU.
1.Repeat step 1 ~ 6 to add a new component SKU to the Assembly SKU.
2.After adding the final component SKU, click the Add & Close button and exit the Add Materials Item screen.

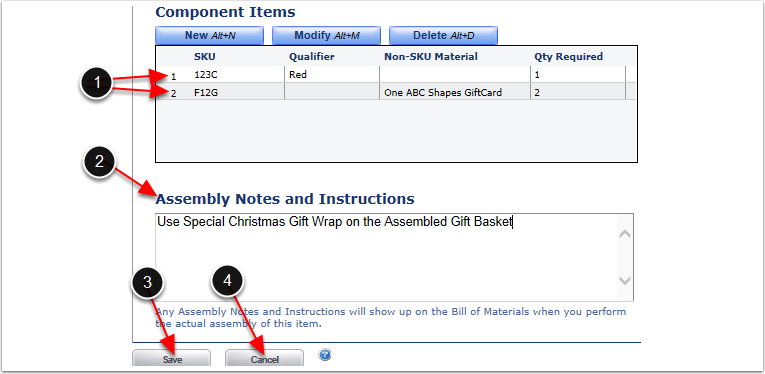
1.The Component Items Grid box will generate with the component SKU's added.
2.Assembly Notes or warehouse instructions may be entered in the Assembly Notes and Instructions box. These Notes will then appear under the Notes field of the Assembly and in the Bill of Materials (Optional).
3.Click the Save button to complete the new Assembly Item creation.
4.Click Cancel, if you do not wish to create the Assembled item. This will cancel the complete setup.
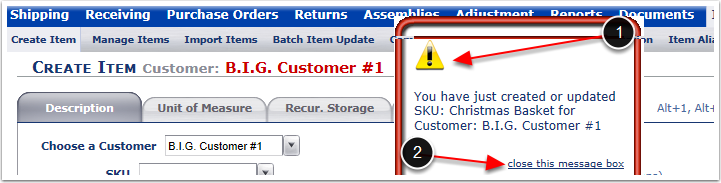
1.After Clicking Save the system will generate a message confirming the creation of the Assembly SKU.
2.Close the message box.
To view the Assembled SKU created refer to the Create Item - Manage Items section of this guide for instructions.