Item Images |
  
|
Item Images |
|
The Item Images guide will provide the steps needed to enable the functionality required in order to post or view an Item Image to/from the Item Images options.
The user will learn how to:
•Post an Item Image
•Batch Upload Item Images
•View an Item Image
•Delete an Item Image
The Item Images are accessible to 3PL Central Customers who have item Images enabled and users who have access to Item options.
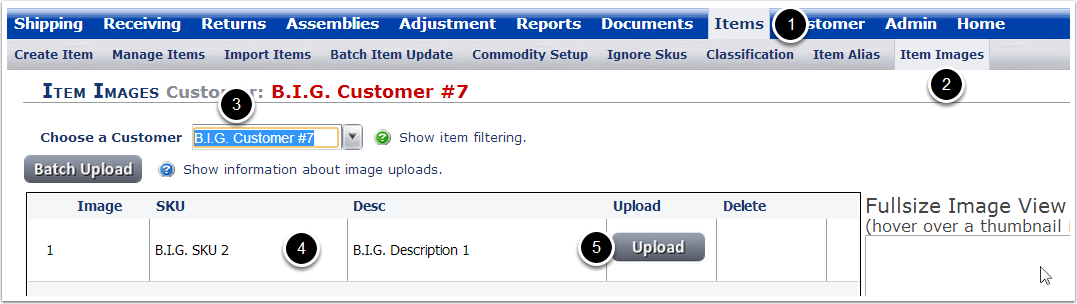
In order to post an Item Image, the user should:
1.Click the Items menu.
2.Select Item Images from the submenu options.
3.Choose a Customer from the drop-down box.
4.Find the SKU in the list.
5.Click the Upload button.
The Image size requirement: 262 X 262 pixels. If uploaded images do not meet this requirement, the images will be scaled up or down automatically.
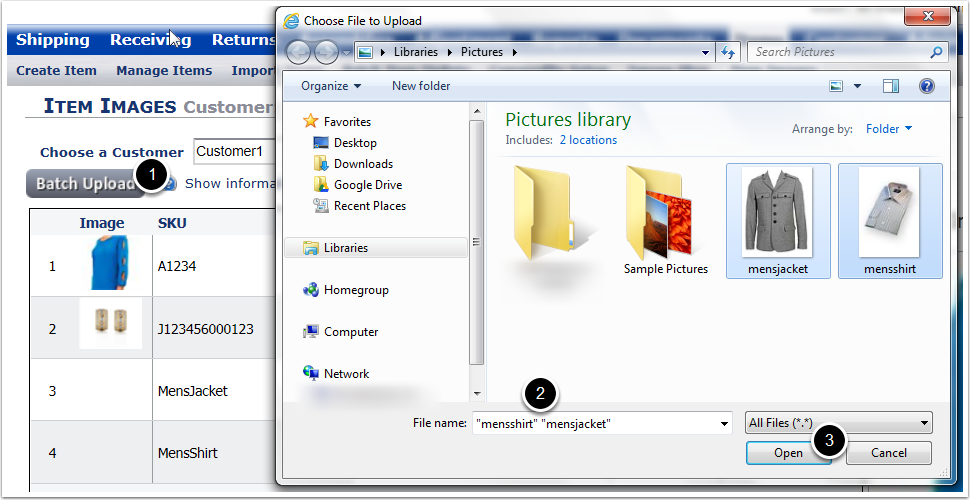
To upload multiple images at one time:
1.Click the Batch Upload button.
2.Select the image files to Upload.
The image file name specifies the SKU to which the image will be attached. For example, if you select an image file named "MySKU.jpg", the image will be automatically attached to SKU "MySKU" if it exists.
3.Select Open and a thumbnail image will appear.
NOTE: IE 9 and below does not allow multi-select, but other browsers such as Chrome support it.
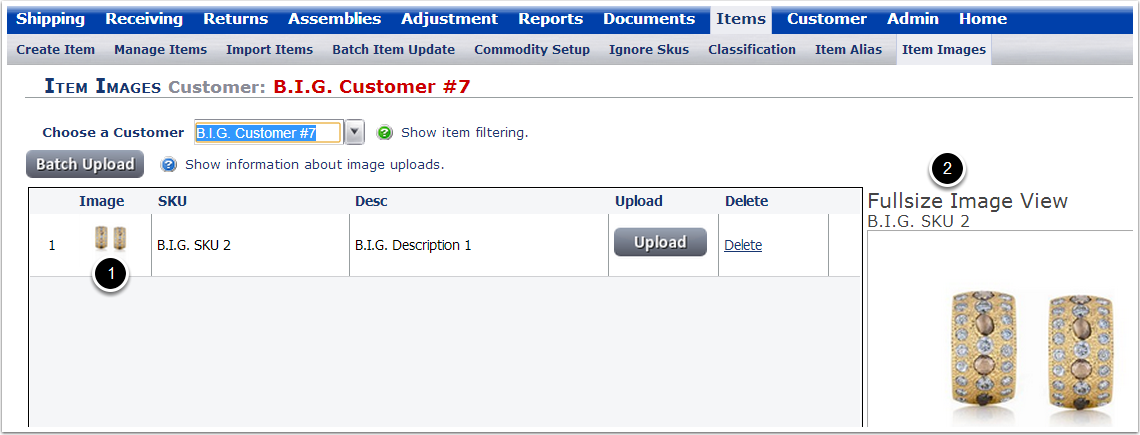
Once the Upload button is selected the user will be prompted to choose the image file. The image file chosen must be of type .jpg, .gif or .png.
1.Select Open and the file should now be visible underneath the word Image, as in the screen capture below.
2.If the user hovers over the image, the image will be visible in the Fullsize Image box as shown in the on the right side of the page.
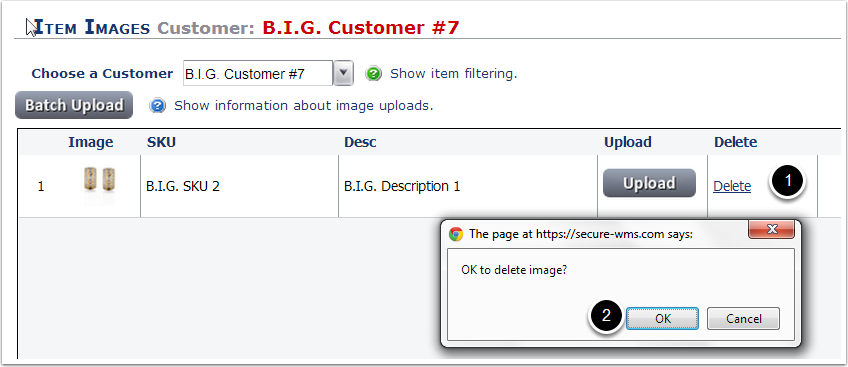
In order to delete an Item Image, the user should:
1.Click the Delete hyperlink.
2.Click OK in the pop up box to delete.
This will remove the image from the SKU.