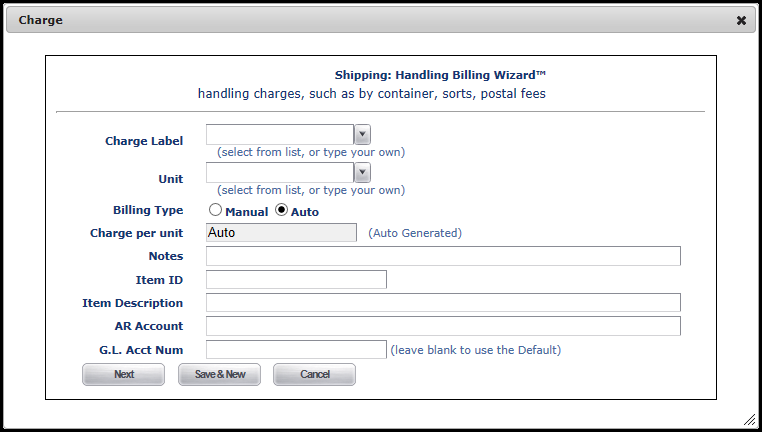
When you have AutoBill enabled, the Add Charge window looks a little different. Notice the Billing Type selection radio buttons. Select Manual and things work as they do without AutoBill turned on. Select Auto, and the Save button turns into a Next button, as below.

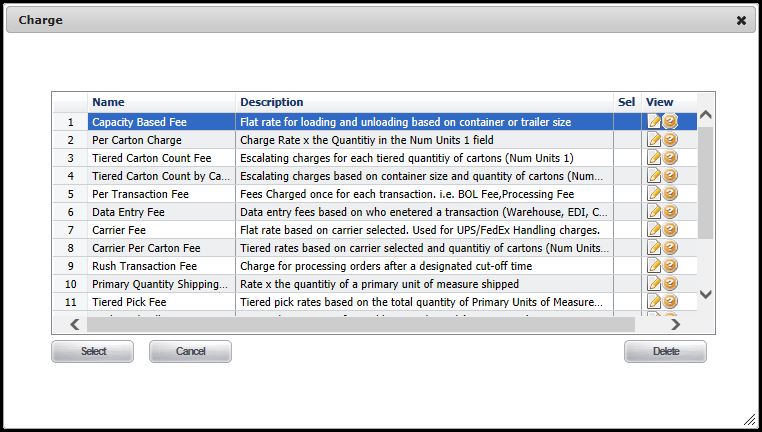
Clicking Next takes you to a screen that some have found frightening or confusing, the Auto Bill script selection screen. Don't worry, we'll make this as easy as we can.

This is a list of the automated scripts available to you to determine additional charges on Orders, Receivers, Adjustments and Assemblies. The list populates based on how you came to this screen, and so it doesn't always show every script. Here we'll go over each script and what it does, regardless of the section it's in.
This is what a script looks like to the geek.

Some general principles.
•Something inside brackets and dollar signs [$likeThis$] can be a list of one or more items of the same type.
•Something just inside dollar signs $likeSo$ is a single value.
•wt usually refers to the WarehouseTransaction, which is the grouping element for Order Items or Receive Items.
•ChargePerUnit is a monetary amount that will be multiplied by NumUnits to get the total charge for the charge line that will be generated by this script.
•NumUnits is the number of times you multilpy ChargePerUnit to get the total amount to put on the charge this script will generate.
•UnitDescription is what you'll see on the bill.
•When you see these symbols < and > they read as 'is less than' and 'is greater than', respectively. For instance, Obamacare < helpful would read Obamacare is less than helpful.